
THE exposed PRESET PACK
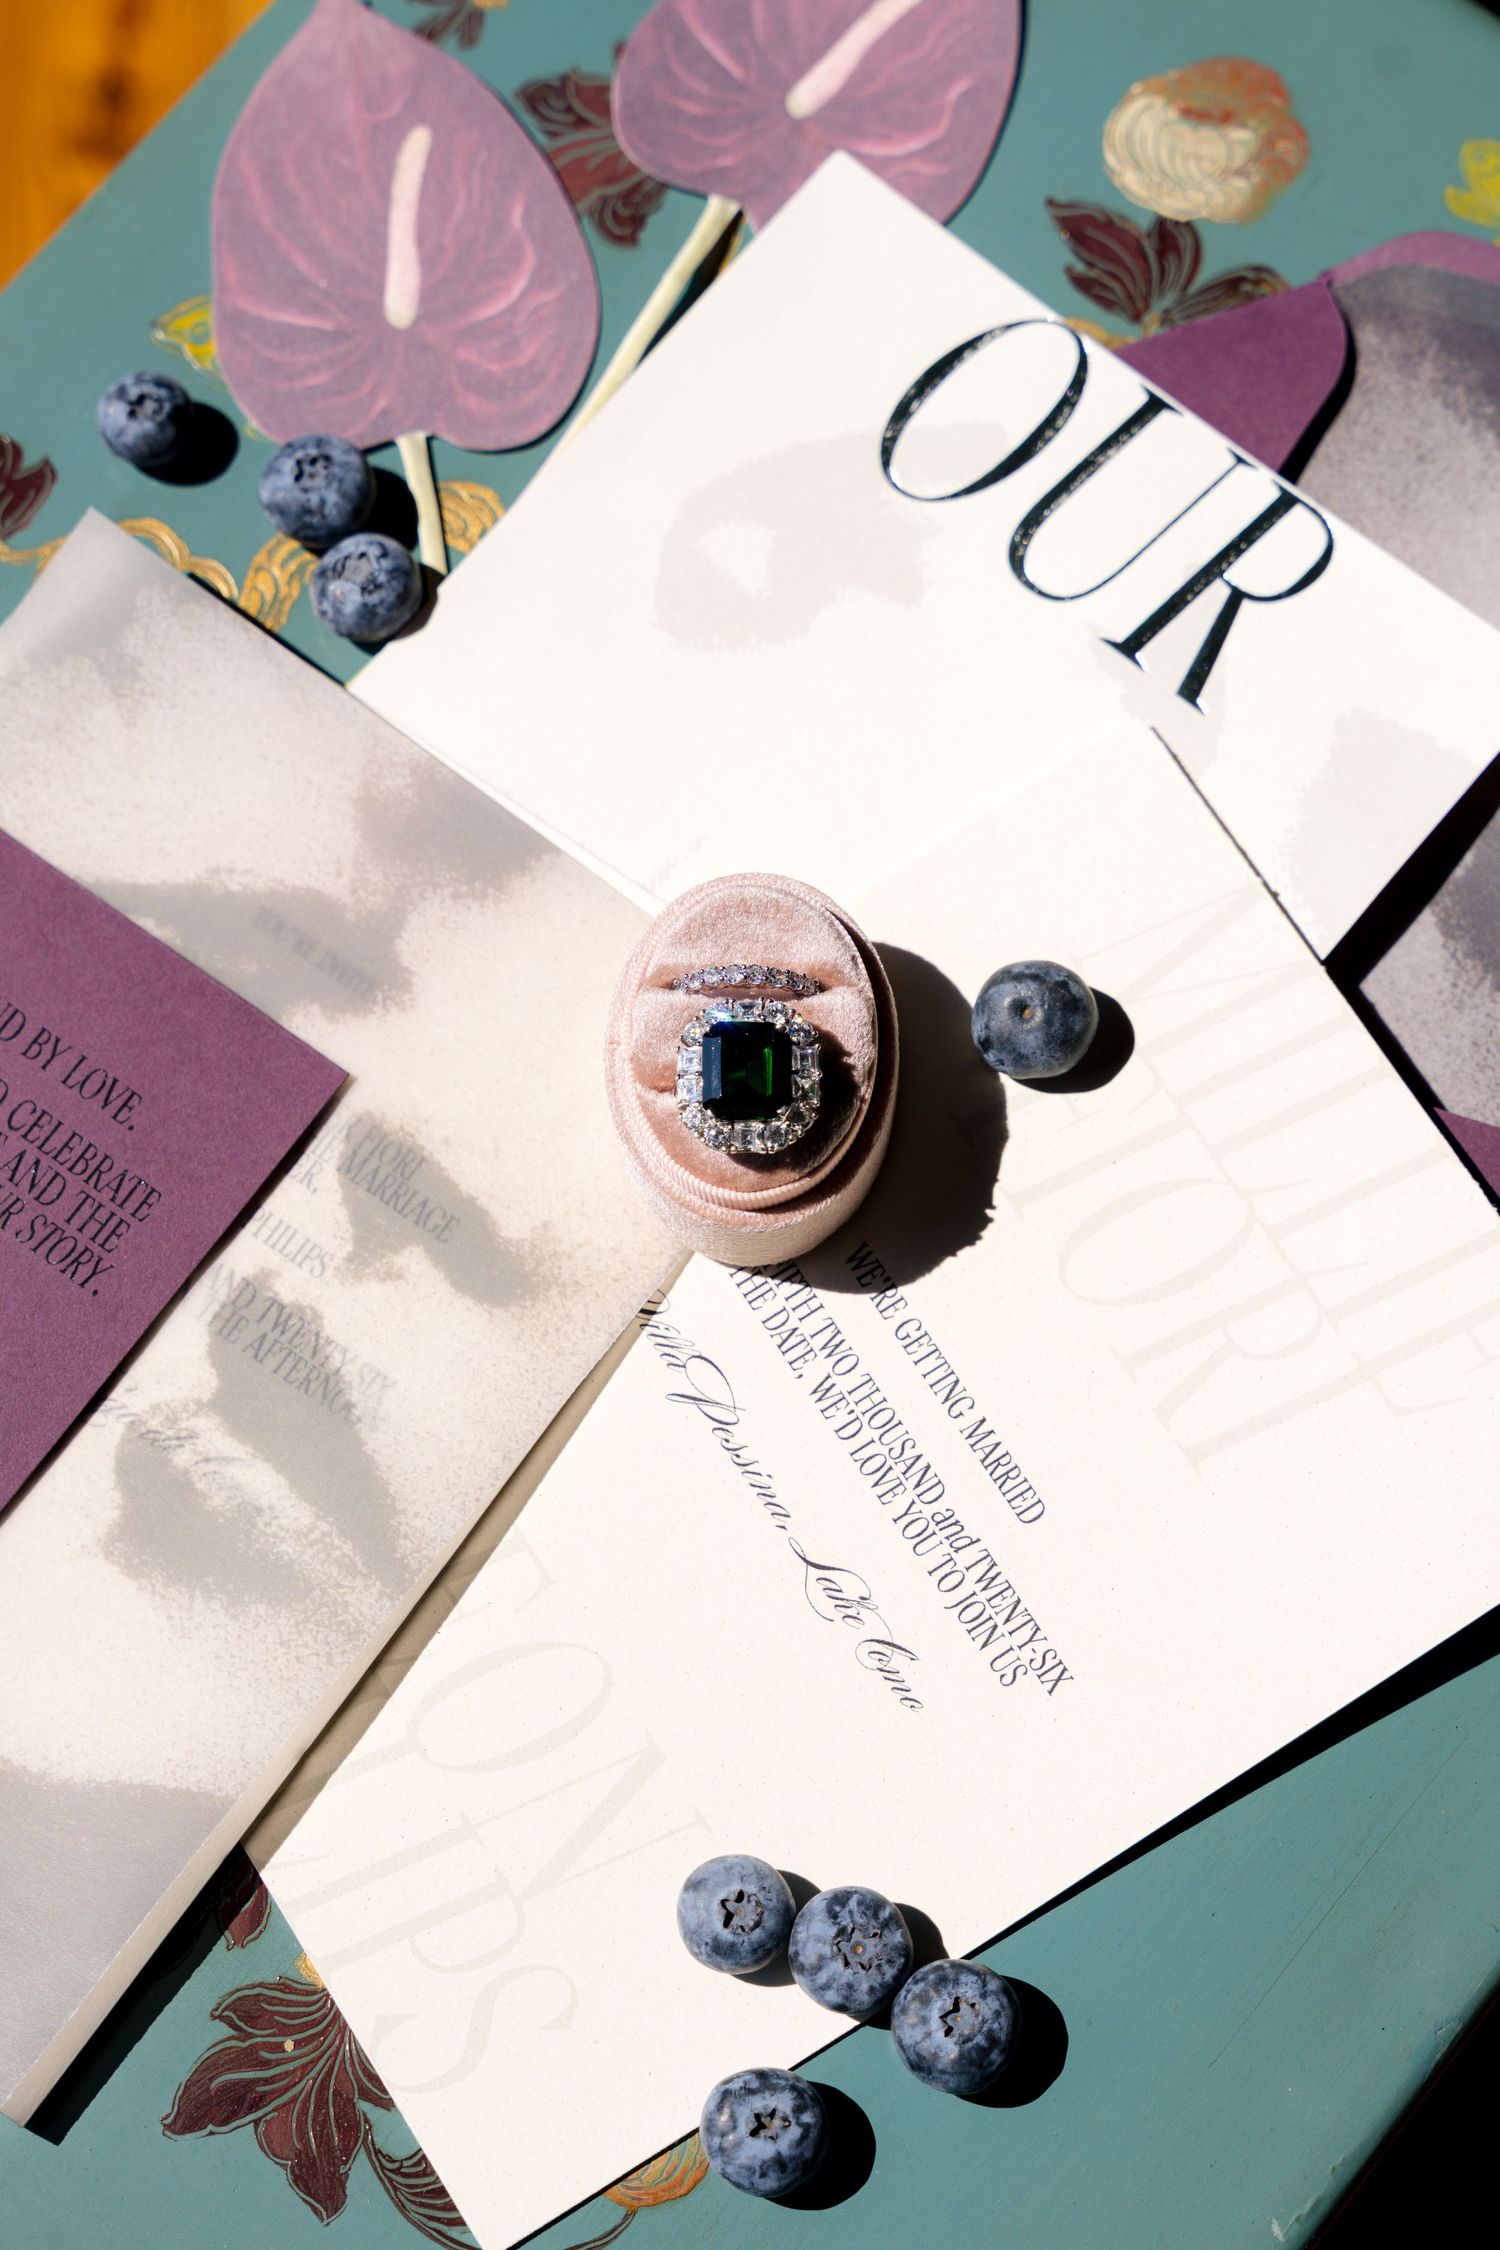
They're finally here! My personal editing presets, built from real shoots and refined over years of wedding and lifestyle photography. Eight presets — Lake Como Preset, Direct Flash, Direct Sun, 2x Black & White, DJI Drone, and Standard— each designed to give your images a consistent, professional look without hours of editing. Made for Lightroom Classic and CC/Mobile. Made for photographers who care about the details.
1&2. BW Presets
Black and white is never just the absence of color. It's a decision about what the image is really about — the structure, the emotion, the light itself. But the same moment can demand two completely different treatments depending on what you want it to say. The High Contrast preset is for the frames that have something to prove. Deep blacks, strong structure, defined shadows — the kind of black and white that commands attention. The Low Contrast preset is for the frames that don't need to. Lifted shadows, soft midtones, a quieterversion of the same light. The choice between them is rarely technical. It's instinct.
3. Backlit Gold
Shooting into the light is one of the most rewarding and most difficult things you can do with a camera. The subject goes dark, the background blows out, and the edit becomes a balancing act between preserving the warmth of the flare and keeping enough detail in the frame to make the
image work. This preset was built for those moments. It handles the exposure imbalance between subject and background, preserves the golden warmth that backlit situations create, and stops the shadows from going
muddy. The result is images that feel as warm as the light that made them.
4. Direct Flash
For me, direct flash is sometimes an aesthetic decision. The hard light, the defined shadows, the graphic quality it adds to an image — these are intentional. It's a look, not a workaround. This preset was built for off-camera direct flash, calibrated for Profoto A2 and B10 output on a Sony A7R V. It keeps colors natural, manages the balance between flash and ambient light, and makes the result look as
deliberate as the decision to use flash in the first place.
5. Direct Sun
Harsh midday light is unforgiving — it blows highlights, flattens skin tones, and creates shadows that are difficult to recover in post. This preset was built to handle exactly that. It pulls back the highlights without losing the intensity of the light, keeps skin tones from going orange or flat, and preserves the energy that only direct sun can give an image.
6. DJI Drone
Drone sensors see the world differently. The images come out flatter, less saturated, and with a color shift that varies depending on the time of day and the profile you shoot in. Left unedited, drone footage rarely matches the ground-level images from the same wedding — and consistency across a gallery matters. This preset was built specifically for DJI sensor output, compensating for the flatness and color behavior that comes standard with aerial footage. Apply it and the drone images stop feeling like they belong to a different shoot.
7. Lake Como
Como light doesn't behave like anywhere else. It bounces off the water, carries a cool-blue cast that sits in the shadows even when the sun is high, and changes fast. Shoot there with a preset built for anywhere else and you will spend hours fighting it in post. This preset works both on the water and on land. It pulls back strong highlights, manages the cool-blue cast without overcorrecting, and keeps skin tones honest in conditions where they can easily go grey or orange.
8. Standard
Not every wedding happens in extraordinary light. Most happen in hotel ballrooms, event venues, and city streets — places where the light is what it is, and the job is to make the images feel true rather than dramatic. This preset was built for exactly those conditions. Developed across weddings in Romania and similar non-destination environments, it handles mixed indoor-outdoor light, artificial venue lighting, and everyday natural light without fighting any of it. True to tone, nothing added that wasn't already there.
How to install
1.Unzip the downloaded file
Find Exposed Preset Pack.zip in your Downloads folder and double-click to unzip it. A folder called Exposed Preset Pack will appear — keep it somewhere easy to find.
2. Open Lightroom ClassiC
Launch Adobe Lightroom Classic. Click on
Develop in the top right menu bar to enter the editing module. You will see the Presets panel on the left side of the screen.
3.Import the Presets
In the Presets panel, click the + icon at the top right and select Import Presets. Navigate to the Exposed Preset Pack folder, select all the .xmp files inside (Cmd+A on Mac, Ctrl+A on Windows) and click Import.
4.Find and apply your presets
Once imported, scroll through the Presets panel on the left and find the Exposed Preset Pack group. Click on any preset name to apply it instantly to the selected photo.
Important notes!
Please keep in mind that presets are not a "a one-click fix". The final result always depends on your lighting conditions, weather, season, time of day, camera, lens, and white balance. Think of them as a foundation for your editing and then adding your personal touch to it.
What's included in the pack?
- 6x Adobe Standard color profile
- 2x BW presets
- DJI Drone Preset
- 8x DNG/RAW files
- Installation PDF
Some presets come with white balance already set, to give you a better idea of how they're meant to be used. Feel free to adjust any parameter to get the exact look you're after. Enjoy!
ONLY 49€ + vat